Import your model
Start with the STL or OBJ you want to reproduce. Inspect its shape and orientation, then choose a mould layout to suit how the master will come out.

Tell us what you want to cast. We’ll plan the mould around it.
Explore how it works.
Windows software
Mould shell making and model editing in one studio. Turn an STL or OBJ into a project you can prepare for printing and casting.
From £49
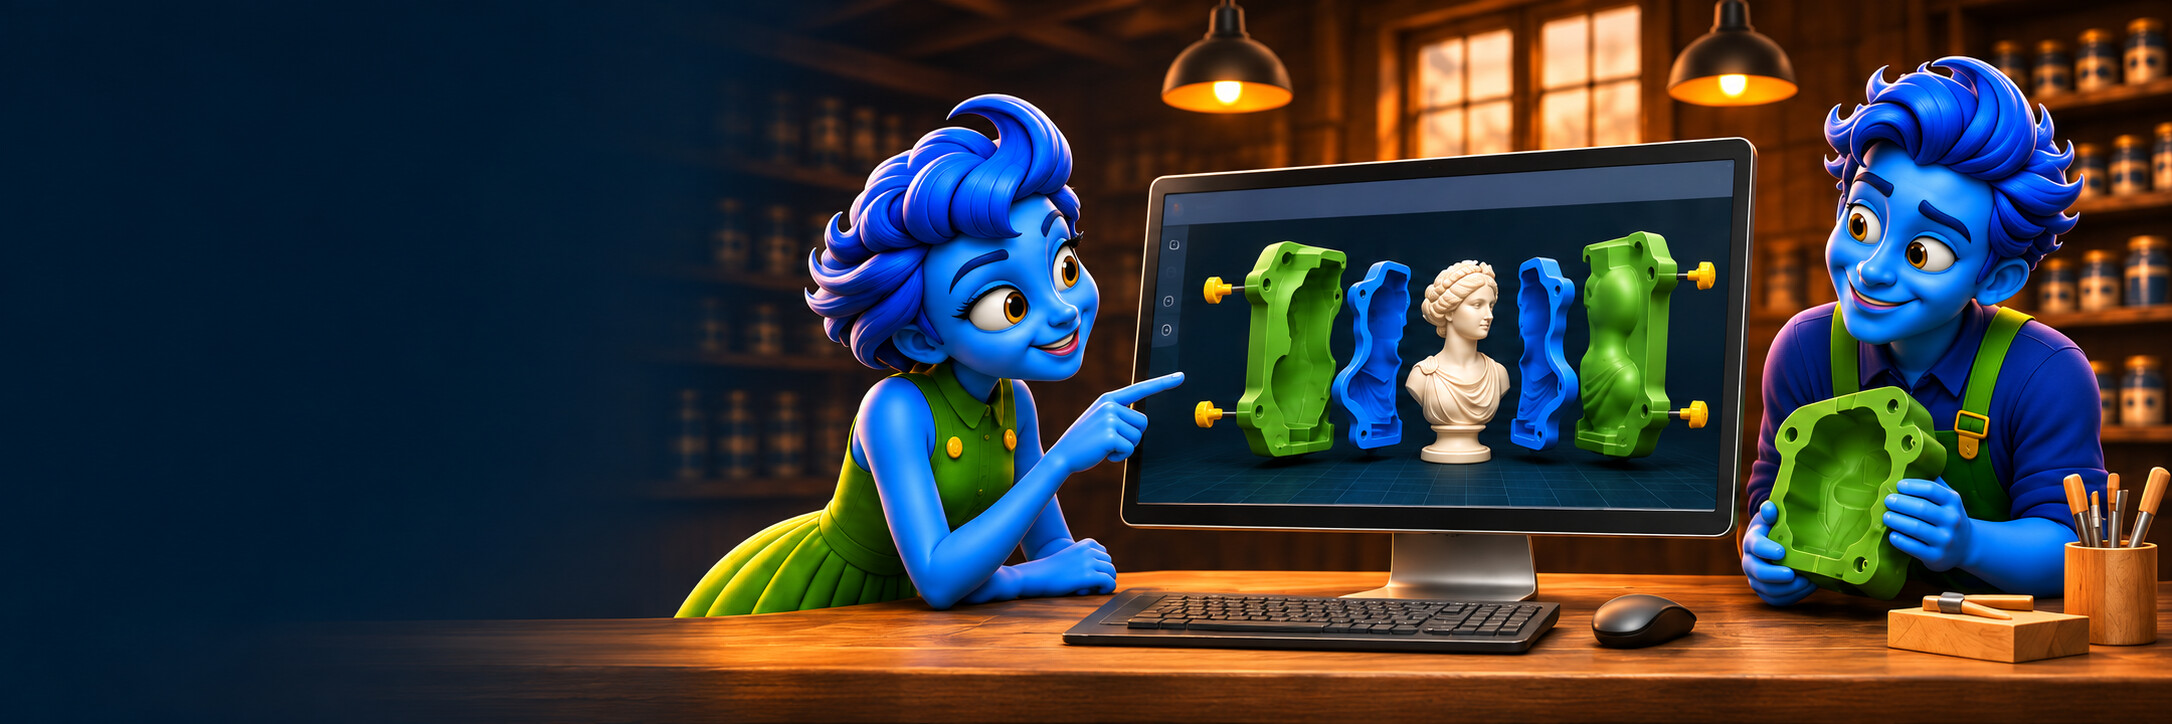
Two workspaces. One studio. Model it with Maya. Mould it with Max.
Design the mould around your model
Mould it with Max.
Load your STL or OBJ and build a mould box or support shell around it. Choose the mould type, plan where it opens, then set the fittings and the space for silicone.
For a silicone jacket mould, the green outer pieces are the rigid parts you print. The blue silicone takes the impression of the master and flexes away from the detail when you demould.
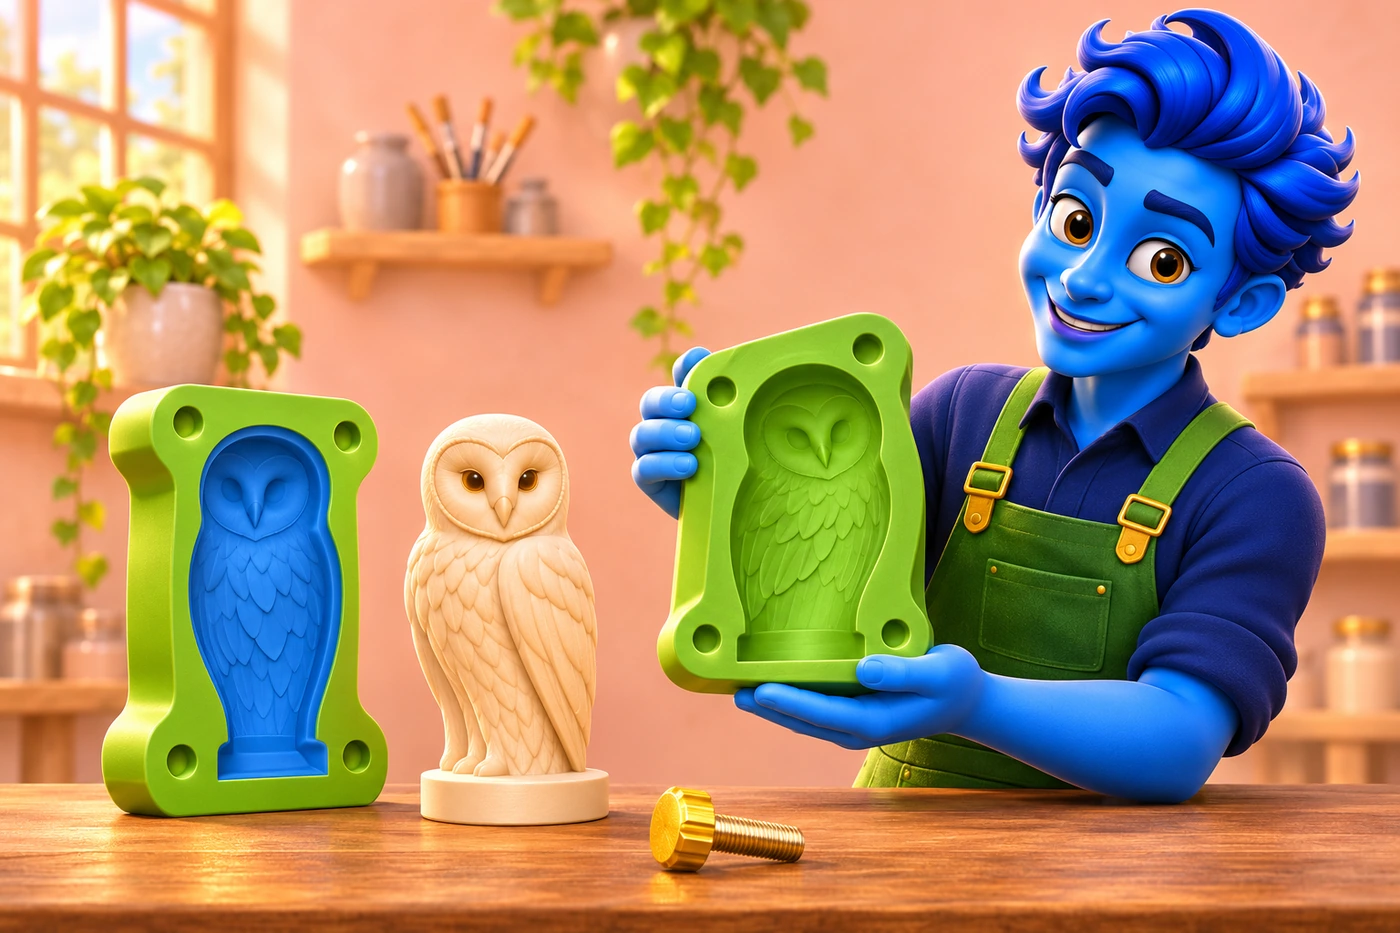
Start with the STL or OBJ you want to reproduce. Inspect its shape and orientation, then choose a mould layout to suit how the master will come out.
Set the wall and silicone space, the split and the fittings. Preview the sections together so you can check how they locate and how the mould opens.
Check the silicone estimate, export the printable parts and prepare them in your usual slicer. Print the shell and check its fit before the first pour.
Inside the mould maker
The 3D preview and the controls sit together. Select a marker to highlight the matching explanation.
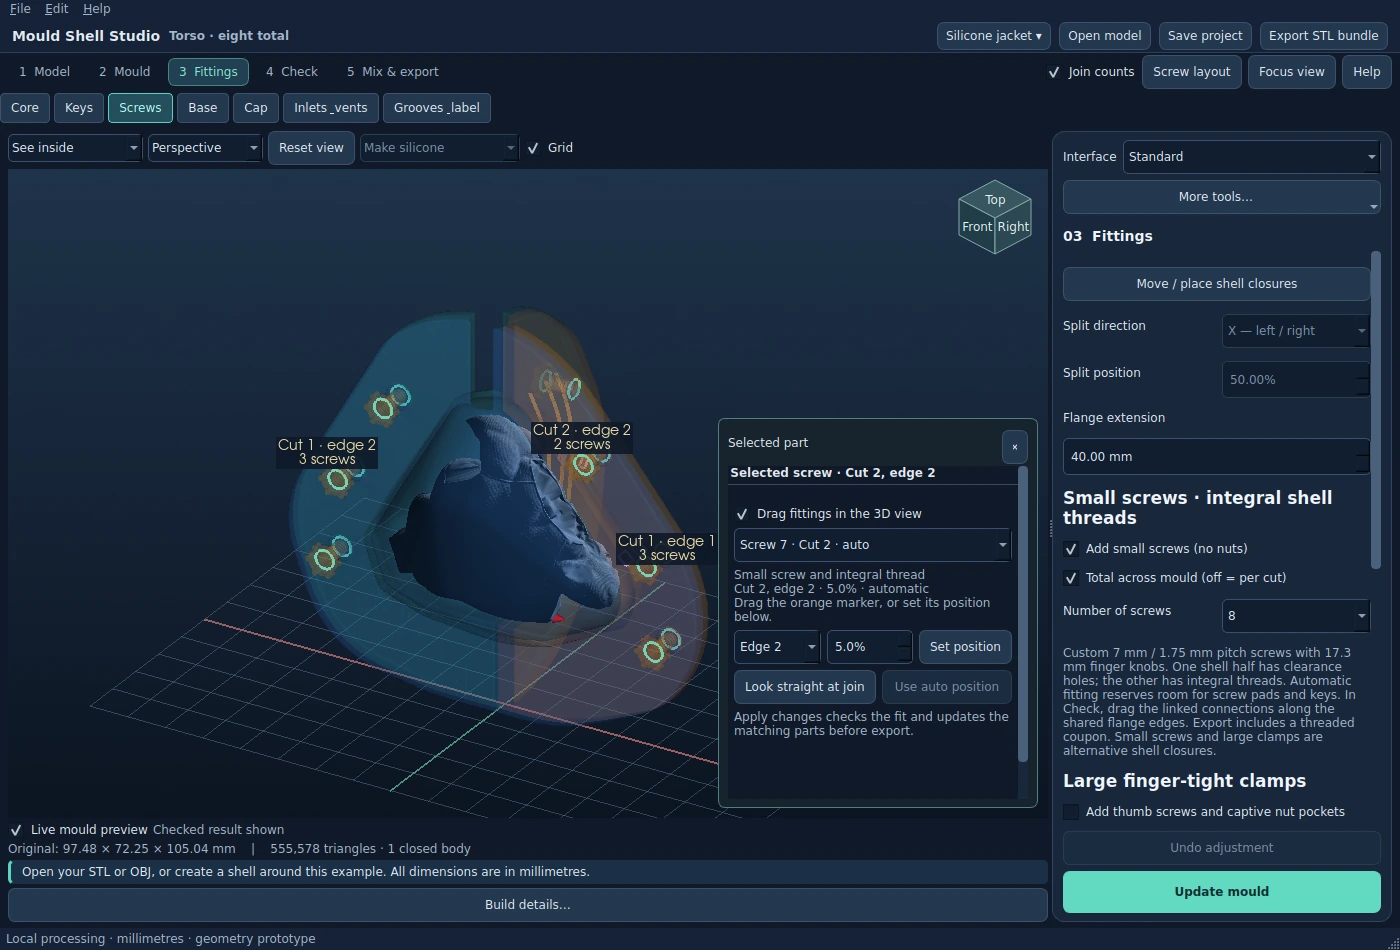
Move from the model and mould to fittings, checks and export.
Orbit the 3D view and inspect the split and screw locations.
Set the layout and position the closures around the join.
A compact sculpt, a detailed figure and a flat plaque need different ways to hold the silicone and release the finished piece.
Build a box around the master and pour silicone into the surrounding space. A small, compact shape is a good starting point.
A thin silicone skin follows the model’s contours. Its supporting shell helps the flexible mould hold its shape on the next pour.
A rigid jacket fits around a shaped silicone layer. Position its openings so the sections can lift clear of projecting details.
Standard adds layouts for flat-backed reliefs and impressions. An open face gives the piece a direction to lift out.
Standard adds curved seams and multi-part shells. Move the parting line around a collar or shoulder and add another section where the shape needs a different opening direction.
Alignment features bring sections back into position. Screws hold the flanges closed. Standard lets you place fittings by hand and add compression or alignment channels.
Plan where material enters and where displaced air can escape. In Standard, manual placement lets you position passages to suit the way you intend to pour.
Check the silicone estimate before printing. If a block leaves a lot of empty space around a narrow sculpt, try a closer-fitting layout before committing material.
Preview the opening
Inspect the master and the space around it before printing. A parting line needs to let the shell sections lift clear of the model.

Optional AI mould planner
Ask for suggestions on the model’s orientation, shell splits and fill openings. Review the plan and apply the ideas that suit your mould.
Connect your own OpenAI API key. With permission, Studio sends six rendered views and project details for advice. The STL stays on your PC. API usage may incur separate charges.
In development · We’re testing recommendations for mould type, part count and seams that follow surface detail while keeping faces clear. Every proposed route needs review.
Workshop scenes illustrate the mould-making process.

Prepare the model before you mould it
Model it with Maya.
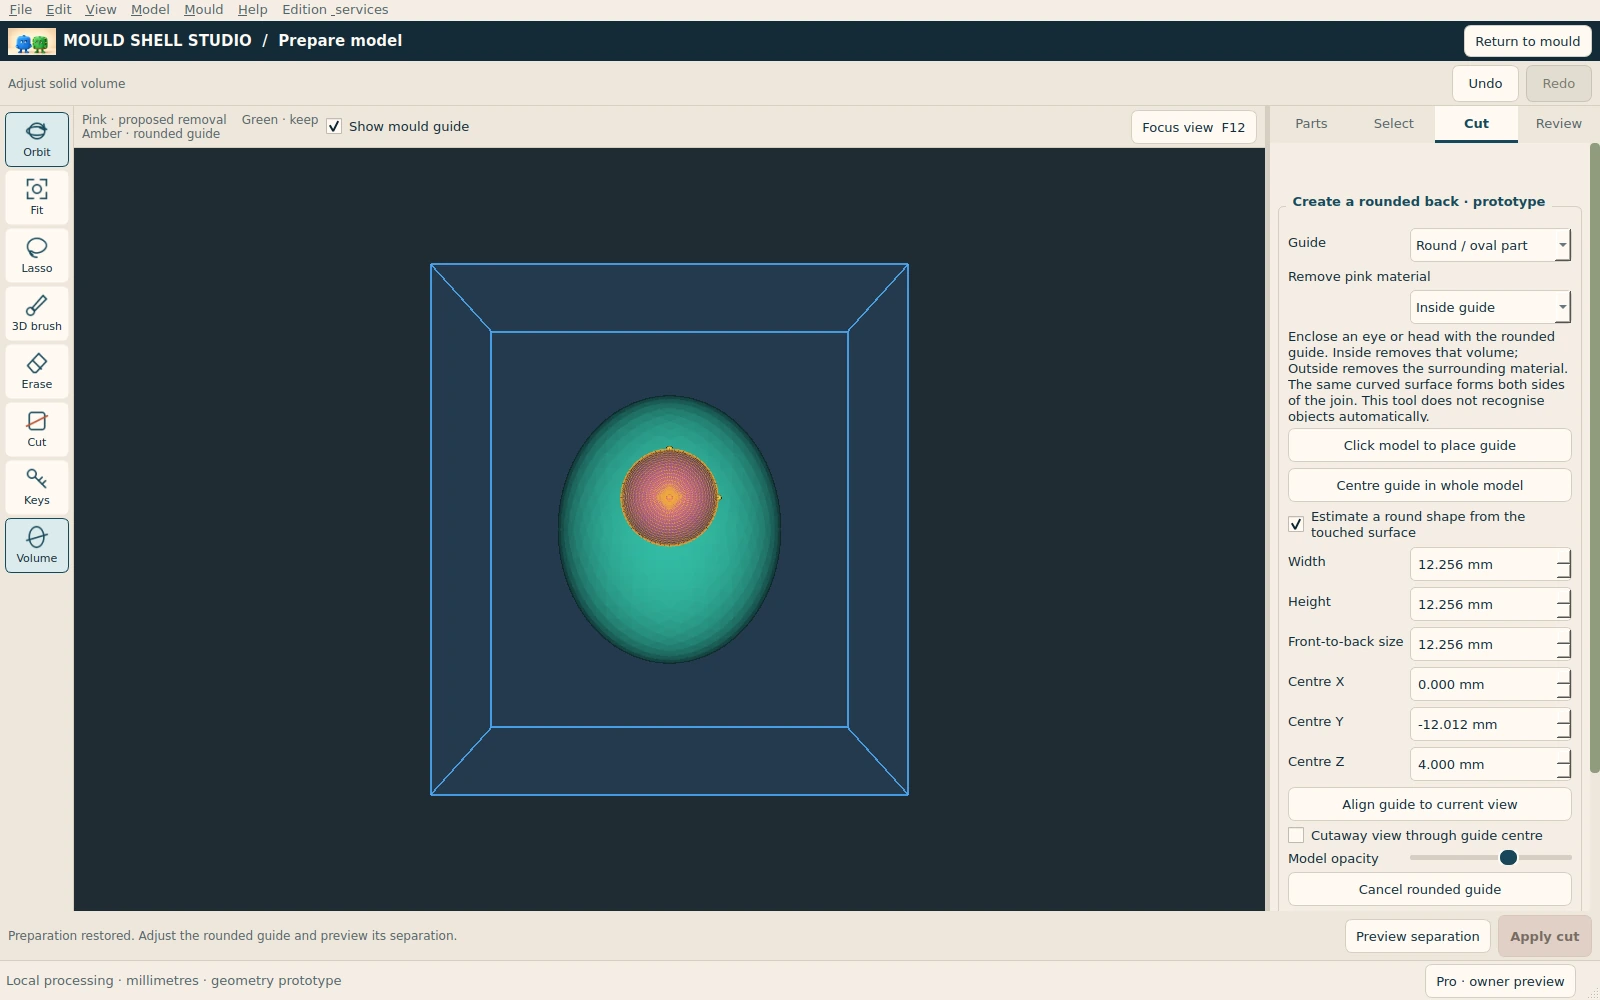
Use the lasso, 3D brush and erase tools to refine a selection.
Orbit the model and inspect the area you intend to separate.
Adjust the guide and preview the separation before applying it.
Pro preview · Coming soon
A dragon’s wing can make the mould awkward to open. Select the wing, preview the separation and add a matching key so the parts locate together again.
The editor gives you paint and selection tools for the surface, plus AI assistance when reference pictures can help identify clothing, hair or another part.
Paint the surface yourself or choose a target and use reference pictures to guide the AI selection.
Rotate the model and inspect folds, gaps and deep areas. Add missed triangles or erase unwanted selection.
Inspect the separated pieces and their joint before accepting the cut. Check how the part will pull away.
A keyed joint gives the removed piece a matching location for reassembly after printing or casting.
Preview the keyed joint
A tapered key helps the wing locate in its socket. Check the joint and pull direction in the separation preview before accepting the cut.
AI model editing · In testing
The folds of the shirt run straight into the hands. Choose Shirt and supply reference photos from several sides. The editor aligns the views, masks the fabric in each picture and maps the selection onto the STL.
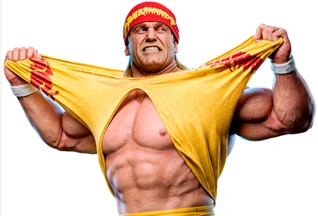
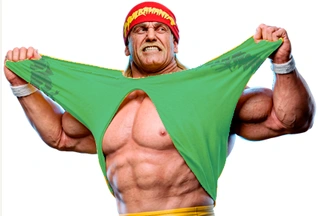
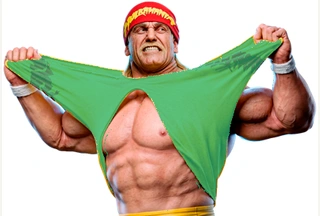
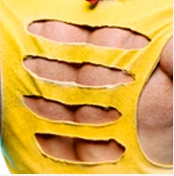
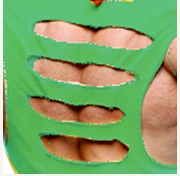
Green marks the selected fabric. The gaps across the back should still show skin. Check the hands and deep folds, then brush in a missed piece or remove an unwanted patch before cutting.
Photos from several sides give the editor more of the surface to work with. The local AI selection runs on your PC after setup.
Windows editions
Choose Basic for a first silicone mould, Standard when you need control over the split, or look ahead to Pro for editing the master itself.
| Compare editions | Basic£49Includes one year of updatesExplore Basic → | Standard£109First year · £54.50 optional annual renewalExplore Standard → | Pro£199Coming soon · planned first year £99.50 optional annual renewalExplore Pro → |
|---|---|---|---|
| STL and OBJ import, standard fittings and printable shell export | Included | Included | Planned |
| Block, glove and jacket moulds with silicone estimates | Included | Included | Planned |
| Curved seams and multi-part shells | — | Included | Planned |
| Manually placed fittings, custom supports and compression channels | — | Included | Planned |
| Tray, plaque and stamp layouts | — | Included | Planned |
| Model editor with keyed part separation | — | — | Planned |
| Two-part direct negative moulds, hollow-casting cores and plugs | — | — | Planned |
| Reusable presets and workshop export packs | — | — | Planned |
| Launch design credits | 1 design | 2 designs | 3 planned |
Basic and Standard are available for Windows. Pro is coming soon. The launch offer includes mould-box design credits. Printing is separate.
Before you buy
Start ordinary mould design with your model file. Reference photos help the AI model editor identify a surface such as fabric. Local selection runs on your PC after setup. The separate optional online mould planner uses your own OpenAI API key and may incur API charges.
Basic includes 12 months of updates. You can keep using your eligible Basic version afterwards. Standard includes its extra tools for a year. Renew to keep them or continue with Basic features.
Studio runs on 64-bit Windows PCs with an Intel or AMD processor. Windows 11 x64 is the tested platform. An 8 GB PC handled simpler moulds in testing. Dense scans and detailed sculpts need more memory. Setup, activation and periodic licence checks use the internet.
Sign in or create your Studio account to buy. Your download is available after payment. The current ZIP download needs 64-bit Python 3.12 or 3.11 with the Windows Python launcher. Internet is needed for first-time setup, account activation and periodic licence checks.
Installing on Windows: The current Mould Shell Studio installer is unsigned, so Windows may show an “Unknown publisher” or SmartScreen warning. Download directly from your Mould Shell Studio account. If you’re unsure about a warning, contact us before continuing. See licences, downloads and support.
Tell us about your model below. Add a file link if you have one, or start with a description.
We’ll review the shape, discuss the right approach and confirm your quote before any work begins.