top of page
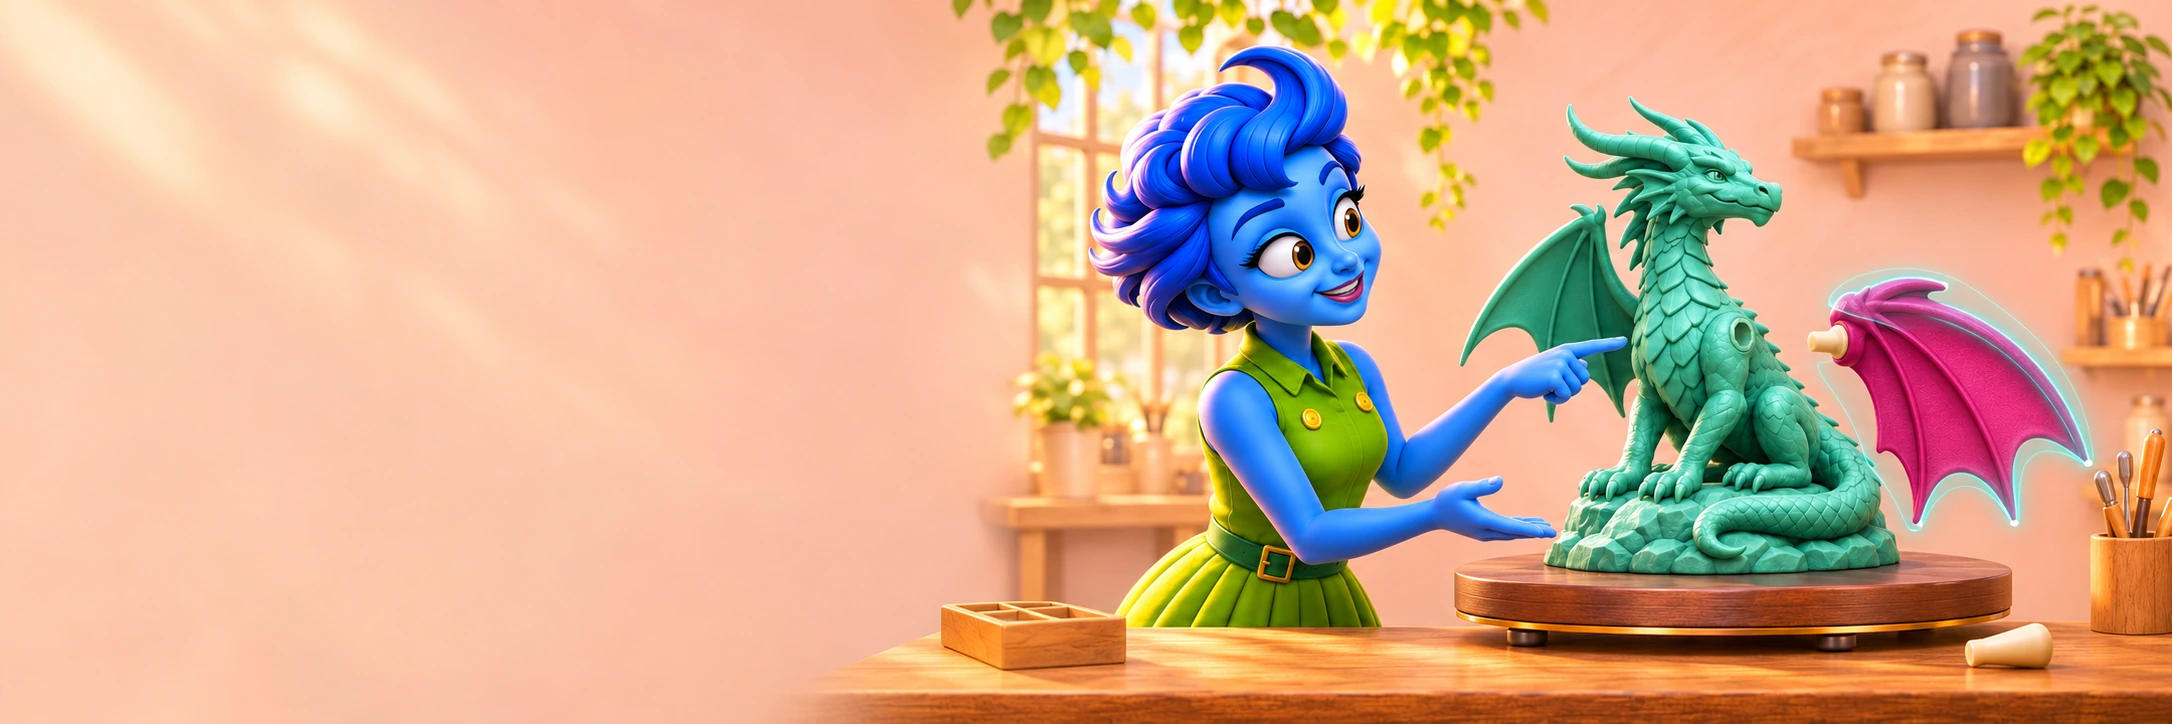
Maya presents a teal dragon with a separated magenta wing and locating key

Model Editor · Planned with Pro

Select the part.
Keep the detail.

Prepare an existing 3D model for a more workable mould. Use manual tools or AI photo guidance, refine the surface selection and preview a keyed separation.

Model it with Maya.

Pro workspace preview. AI selection is in testing and needs manual review.

A dedicated model-preparation workspace. Planned as part of Pro; Basic and Standard concentrate on mould making.

Is this the right workspace?

Prepare the master before designing the mould.

A model can be ready to print and still be awkward to mould. A wing, item of clothing or projecting accessory can obstruct the opening of a rigid shell. The Model Editor works on the master itself so you can prepare separate pieces before planning their moulds.

Select the area you want to separate, inspect its boundary and preview the cut. A matching key and socket can help the removed part locate again after printing or casting. The joint still needs suitable dimensions, clearance and an unobstructed pull direction.

Manual selection remains central. AI reference-photo assistance is being tested to identify a target in pictures and map the selection onto the STL. It can reduce the first round of painting, while you remain responsible for inspecting the 3D result and correcting the boundary.

Existing 3D model

Begin with the master mesh you want to prepare.

AI + manual tools

Use photo guidance, then review and refine in 3D.

Planned with Pro

Editor features are previewed here; Pro is coming soon.

Workspace preview

The manual tools behind a careful selection.

Paint

Paint the intended surface

Use the brush to build or refine the selected area. Rotate the model and work deliberately near the final boundary. A broad stroke helps cover a clear region; a smaller brush helps around fingers, hair edges and narrow openings.

Erase

Erase unwanted selection

Remove skin, neighbouring clothing or another surface that has been included by mistake. Check both sides of a thin feature. Selection colour can look convincing from one angle while hiding a patch that belongs to the other part.

Select

Use selection guides and a lasso

Use the available selection and guide tools to define an area without painting every visible triangle individually. Inspect how the guide passes around the model and what it includes on the far side before applying the result.

Review

Preview the separation and joint

Inspect the removed part, remaining model and proposed connection together. Check that the boundary is where you intended and that the key can move into and out of its matching location. A separate-looking preview is followed by a physical fit check.

A practical walkthrough

A clear process, from original files to reviewed parts.

Start with the model and original photos. Complete the automatic work first, then inspect and refine the actual surface selection before cutting.

1Load the model and reference views2Choose the part you want to select3Run the photo-assisted mapping4Inspect and refine the 3D selection5Preview the cut and matching key6Save the parts and return to mould design

Open the existing 3D model and save an original project. Add clear reference photos from the front, back and sides for an AI-assisted selection. Include views of areas hidden by raised arms, overhangs or folded fabric where you can.

Choose a target such as a shirt, hair or a prop using the available selection controls. Keep the target consistent across the reference views. The manual brush workflow can also be used without asking AI to identify the region.

Let the AI identify the target in the reference pictures and let the mapping workflow relate those regions to the STL. Review the view alignment. If the picture and model do not match, the projected boundary can land on the wrong surface.

Rotate the model through every side. Look for missed fabric in deep folds and unwanted skin, hands or neighbouring parts. Add missed areas and erase unwanted ones. More reference views help coverage, but they do not replace this inspection.

Inspect the proposed separation before accepting it. Review the edge, the remaining geometry, the key and socket, and the direction the part needs to move. Adjust the selection or connection if it crosses detail or traps the part.

Keep the original model and the reviewed prepared project. Export or use the prepared pieces for the next stage. In the mould workspace, check the scale, orientation and removal route of each part and create the suitable shell layout.

Inside the softwareSaved test build
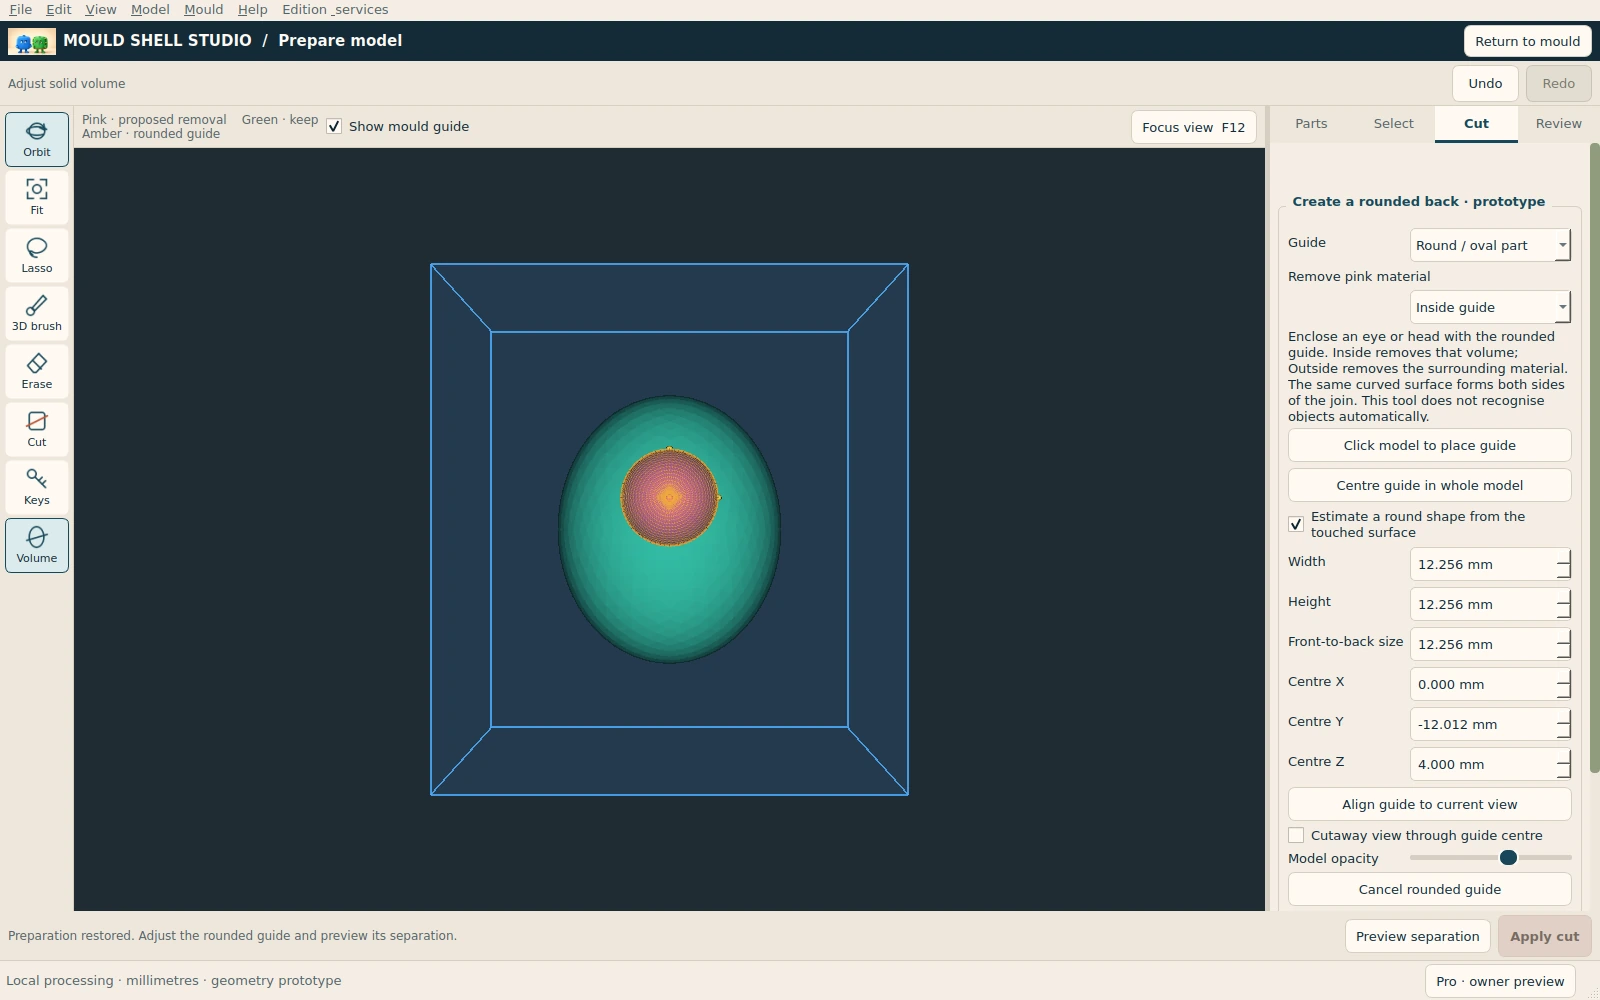
Saved Mould Shell Studio Model Editor selection and cut-guide interfaceEnlarge interface ↗

Example interface from a saved test build. Layout and available controls depend on the release and edition.

Actual development test

Can AI pick out this wrestler’s shirt?

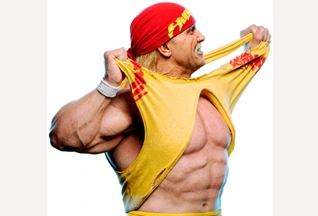
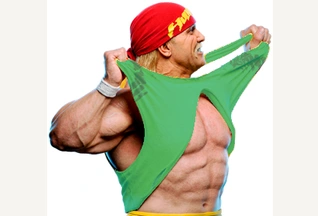
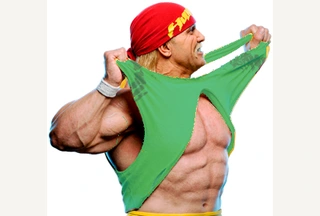
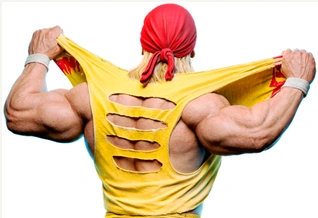
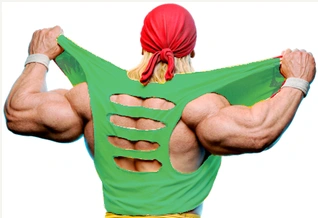
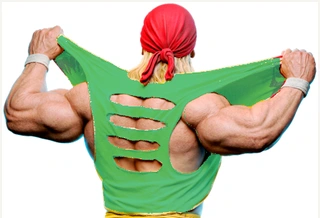
The shirt folds run into the hands, and the back has openings that expose skin. These are real saved test captures showing the original photograph, its AI mask and the selected STL surface projected back onto the image.

Wrestler shirt selection · Actual test captures
FrontSideRear
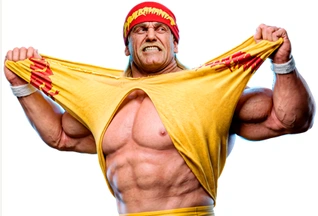
Original yellow shirt, front view
Original photo
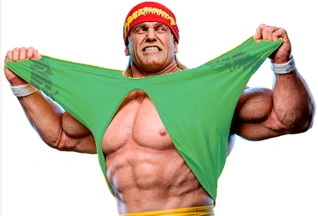
AI marks the fabric in green, front view
AI photo mask
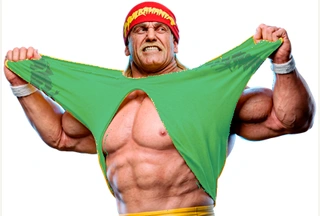
Selected STL surface projected into the photograph, front view
3D selection projected onto the photo
Original yellow shirt, side view
Original photo
AI marks the fabric in green, side view
AI photo mask
Selected STL surface projected into the photograph, side view
3D selection projected onto the photo
Original yellow shirt, rear view
Original photo
AI marks the fabric in green, rear view
AI photo mask
Selected STL surface projected into the photograph, rear view
3D selection projected onto the photo

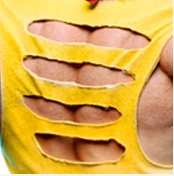
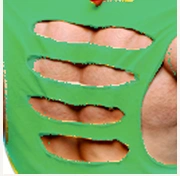
The openings should keep their skin.

Green marks the selected fabric in this test. The gaps across the back should remain clear of the shirt selection. Check those gaps, the hands and the deep folds in the actual 3D model.

The captures show one model and reference set. They do not establish a universal accuracy rate. Your result still needs an all-sides check and manual refinement before cutting.

Original yellow shirt with visible skin through the back openings
Original openings in the shirt
Selected fabric in green with the rear openings left clear
Selected fabric mapped from the STL

What the AI is doing

From picture regions to a model surface.

A useful photo mask is one stage of the process. Alignment and the final selection on the mesh determine which part of the model will be edited.

1. Identify the region

The AI identifies the chosen target in each useful reference photo. Look at the mask around fabric edges, hair, hands and openings. A region can be wrong before it is ever projected onto the model.

2. Relate the views

The mapping workflow relates the photo views to the existing model. Consistent pose, clear silhouettes and different viewpoints help. A misaligned view can place a good photo mask on the wrong triangles.

3. Review the 3D selection

The combined evidence guides a selection on the model’s mesh surface. Inspect the back and underside, then paint or erase as needed. It is a surface selection; it does not create unseen geometry inside the STL.

More viewpoints give the system more surface evidence. Repeated front views cannot reveal the same hidden areas as clear side, rear and underside views.

Illustrated keyed-joint demonstration

Inspect before you print

Give the removed part a place to locate again.

A matching key and socket help you position a separated wing. Check the joint size, socket clearance and pull direction in the actual model, then test the printed fit before relying on it for reassembly.

Pause demonstration
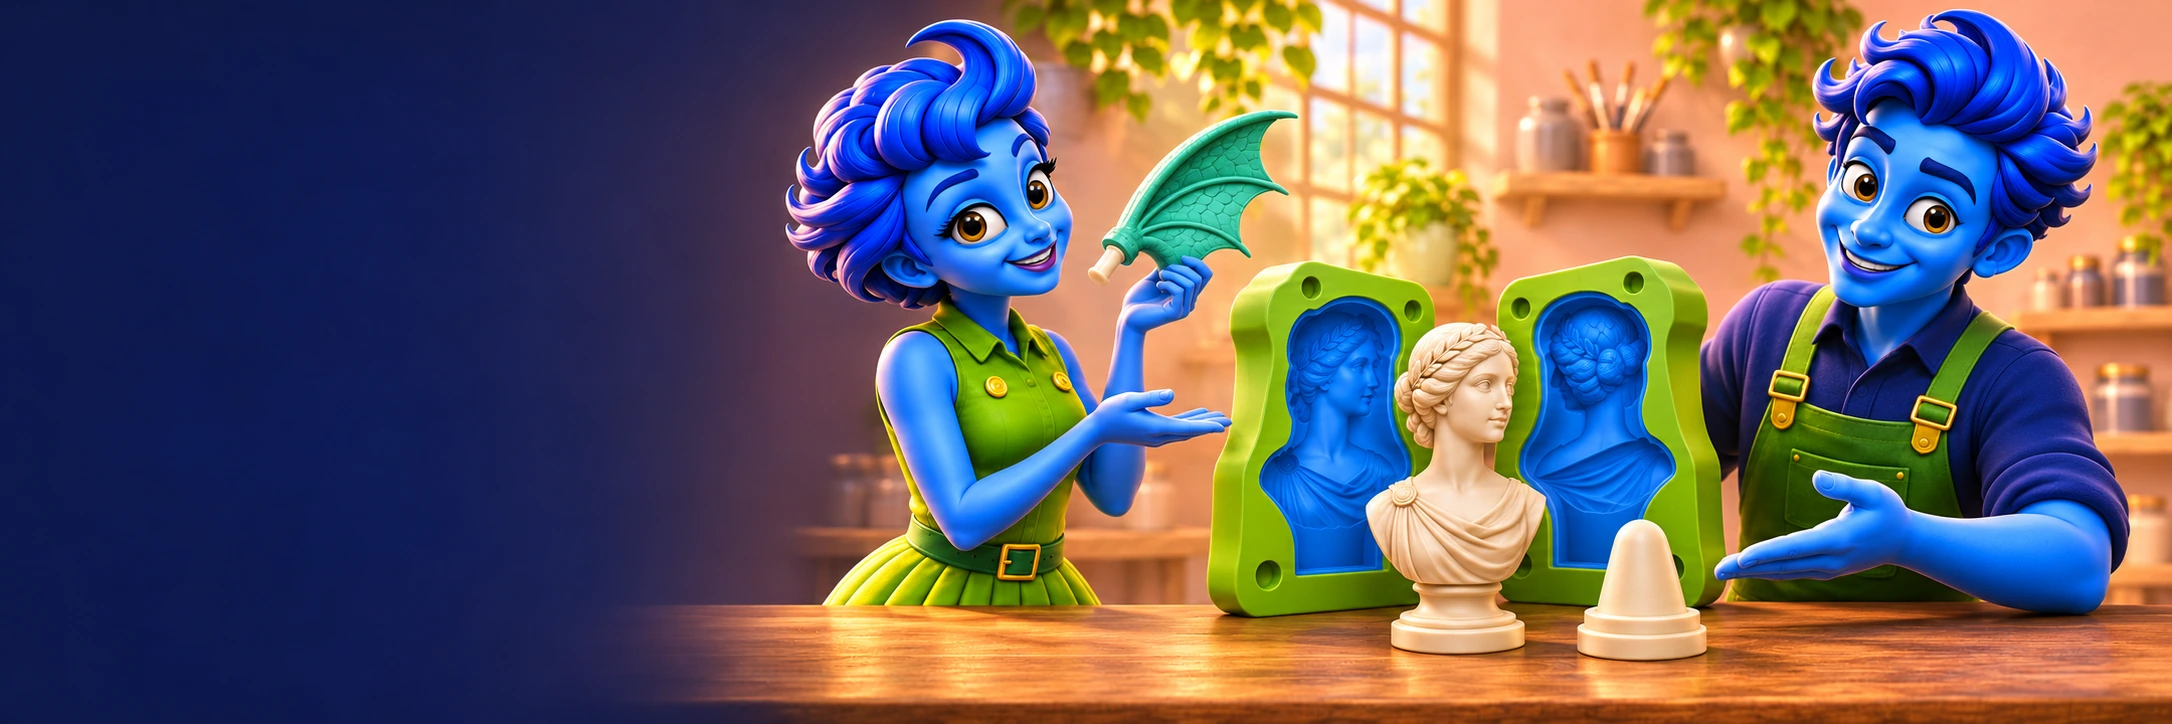
Maya presents a prepared dragon and its separate wing

Back to the mould workspace

Give each prepared part a workable mould.

Check the scale and orientation of the prepared pieces, then plan their shells, silicone space and opening directions. A model edit changes the next mould-design decision.

See how the Pro workflows connect →

Choose with the full picture

What Model Editor can and cannot do.

Use the scope below to match the tools to your project. The right edition still needs a workable shape, suitable settings and a physical fit check.

Your taskWhat the tools provideThe limit or next step
Identify a target in reference photosAI-assisted masking is being tested for targets such as clothing, hair and props.A similar colour, dark shadow, small opening or occluded area can be misclassified or missed.
Map the selection onto the STLAligned photo evidence can guide selection on the 3D surface.The model and photos need to correspond. Poor alignment can move the boundary onto another surface.
Select hidden areasAdditional viewpoints provide evidence for more of the surface.A surface absent from all useful reference views still needs geometric or manual review. The AI cannot recover reliable visual detail that was never shown.
Correct the resultPaint, erase and selection tools refine the surface before cutting.Inspect all sides. A convincing front view does not prove that the back and underside are correct.
Separate a part and locate it againThe planned Editor previews a cut with matching key and socket geometry.The joint needs suitable size, clearance and a real pull direction. Check the printed fit.
Create new geometry from photos aloneThe workflow uses an existing model as the 3D surface being selected.It is not a photo-to-3D reconstruction service or a general sculpting application.
Guarantee a mouldable resultPrepared parts can make the next mould layout more manageable.Each resulting part still needs its own mould, split and process review. Automatic selection does not certify mould release.

Before you install

A Windows PC and a practical printing workflow.

Windows and project size

Studio runs on 64-bit Windows PCs with an Intel or AMD processor. Windows 11 x64 is the tested platform. There is no native Mac or Linux release.

Simple mould jobs were tested on a 7th-generation Core i7 with 8 GB RAM and integrated graphics. Detailed scans and large meshes need more memory headroom. This is a tested example, rather than a minimum specification for every project.

Local AI and installation

Local AI selection needs the required model setup and suitable hardware. The 8 GB example for simple mould building is not an established AI-editing minimum. Check the requirements for the released AI package before choosing a PC for it.

Initial setup, account activation and periodic licence checks need internet access. Installation steps depend on the release. See licences, downloads and support for the current download instructions.

The useful details

Questions before you begin.

Do I need to type a technical AI prompt?

The intended workflow uses the part-selection controls to tell the AI what you are trying to identify. The shirt test shows that process with a clothing target. Manual tools remain available to refine the result before cutting.

How many photos should I use?

Use useful views from around the actual model, rather than relying on one front image. Front, back and both sides are a practical starting set. Add angles that show areas otherwise hidden by arms, hair, overhangs or fabric. Several near-identical photos do not provide the same coverage as different viewpoints.

Does the program align the pictures automatically?

The workflow includes automatic alignment, followed by review of how the view relates to the model. Similar poses, silhouettes and views help. If the alignment is wrong, check it before trusting a 3D selection projected from that picture.

Is this a 2D mask or a 3D selection?

The AI first identifies regions in 2D photos. The mapping stage uses their alignment with the existing model to guide selection on its 3D mesh surface. The final selection belongs to the model surface; it is not a newly created solid volume inside the STL.

Why can shadows or similar colours still cause missed areas?

A deep fold can hide the surface or make it visually resemble a neighbouring material. Hair and a dark shirt can also be difficult to distinguish. Colour processing cannot reveal a surface that is absent from the photos. Inspect those regions and correct the 3D selection by hand.

Can the AI selection run offline?

The local selection workflow runs on your PC after the required model setup. Initial setup, account activation and periodic licence checks can need internet access. The separate optional online mould planner uses your own OpenAI API key and internet connection.

Is the result always as good as the wrestler example?

No. The wrestler pictures are actual test captures from a particular model and reference set. Results depend on the mesh, the photos, alignment, visibility and the target. The example is evidence of a test result, rather than an accuracy guarantee for every model.

Can I buy the Editor on its own?

The current edition plan places the Model Editor in Pro, which is coming soon. This dedicated page explains the workspace. A separate Editor purchase is not offered here.


Your next step

Prepare the model. Then plan its mould.

Explore the planned Pro edition for the Model Editor and advanced mould tools. If you already have a casting-ready master, compare Basic and Standard for the released mould software.

Planned as part of Pro

Pro workspace preview. AI selection is in testing and needs manual review.

The Editor is shown as a Pro workspace. A separate Editor licence is not offered on these pages.

Enlarged software interface
bottom of page